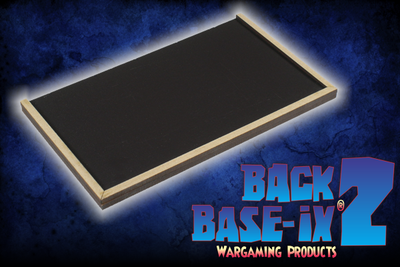
Movement Tray Maker V2.0
Welcome to the MTM V2.0 for all your movement tray-making needs. There is no need to search or jump from page to page looking for your tray sizes or materials. You can do it all from right here, making slight changes between trays with a simple click of a menu option.
Please be patient as you add your trays to the cart.
- When you click "Add To Cart", allow the page to fully cycle, and the cart will pop out from the right side of the screen to confirm the addition.
- Close the cart (X button), then adjust the MTM page for your next tray. "Add To Cart" again, repeating the process until all trays are added.
POINTS OF NOTE:
-
Please read all the details below about the trays you wish to purchase.
-
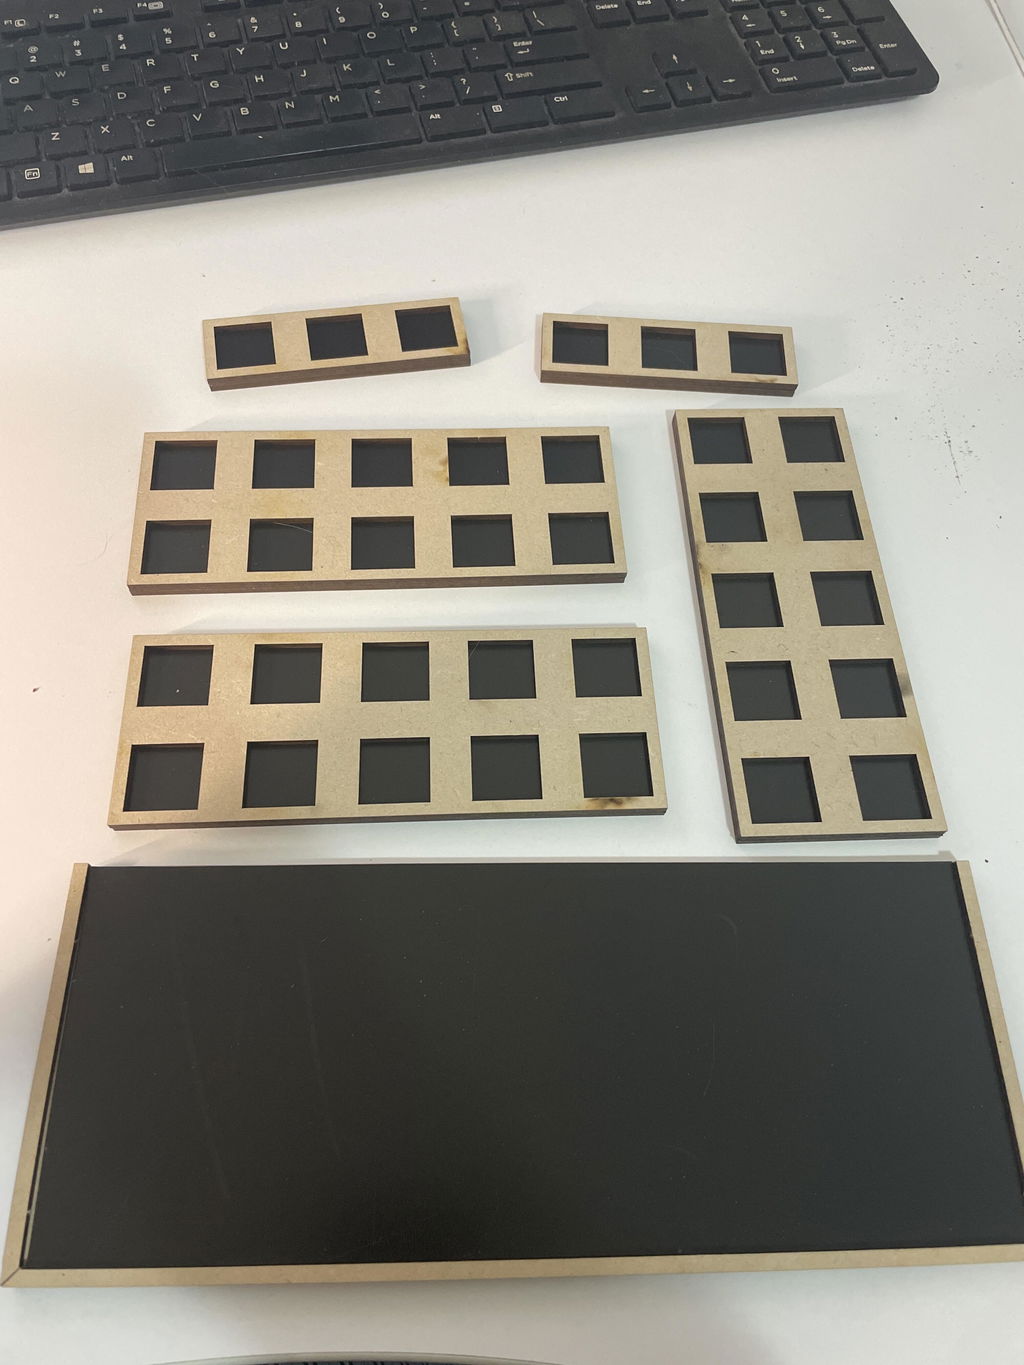
All trays require assembly.
-
Measure your bases. This page lets you enter your required base size in millimetres, so make sure you put in a size that will fit your bases. If required, allow for wiggle room when entering the required size.
-
Tray descriptions have 'Keywords' that explain things in greater detail. These keywords may also override all or part of the initial information provided. Keyword details are found further down this page.
-
If menu options are greyed out or hidden, they are currently unavailable but may/will be available later.
- By default, trays do NOT come with bases. Bases are an add-on option during the creation process.
There are seven steps to making your tray. Each step may set rules/limits for the next, so please follow the steps to get the best experience. I've included a reset button if you want to start over. The price per tray will be displayed once all fields are complete.
Step 1: REGIMENT MODEL WIDTH & DEPTH. Enter whole numbers only. Width is the total number of models across your unit's front (excluding Lance Trays; see the 'Width & Depth' keyword below for those). Depth is the total number of models across your unit's flank/side.
Step 2: TRAY STYLE. There are a number to choose from:
Standard - 3 Sided - As the name suggests, this is your typical tray with an open back. In addition to the base plate, there are 2 sides and 1 front.
Keyword: Lip, Adhesive
Standard - 4 Sided - This is the same as above, but it includes a rear lip that frames your models on the base plate.
Keyword: Lip, Adhesive
Lance - 3 Sided - As the name suggests, this is a typical lance tray with an open back.
Keywords: Solid Lip, Regiment Width & Depth, Adhesive, Partial Assembly
Lance - 4 Sided - This is the same as the Lance tray above, but the lip is complete around the perimeter, framing your models.
Keywords: Solid Lip, Regiment Width & Depth, Adhesive, Partial Assembly
Adaptor - This tray provides the correct footprint while allowing you to insert your models. For example, you may have models assembled on 20mm square bases but want them to (effectively) be on 25mm square bases instead. Be sure to enter your Base Width (and Base Depth for rectangles) from the 'Adaptor Base Size' column below—the base size your models are being increased to, NOT the size they are currently on. I only make Adaptor Trays in the sizes listed below. If you feel something could be added, please let me know.
|
Your Base Size & Shape |
Adaptor Base Size |
| 20mm Square | 25mm Square |
| 25mm Square | 30mm Square |
| 40mm Square | 50mm Square |
| 25mm x 50mm Rectangle | 30mm x 60mm Rectangle |
Keyword: Adhesive, Plates, Grid
Conversion - They are designed for miniatures assembled on round/oval/pill bases, but need a square rank-and-file formation to play. I leave 1mm of material between ranks for cutting and assembly purposes. There is no material between the models left and right. There is 2.5mm of material at the edge of the model formation.
Keywords: Adhesive, Plates, Grid, Partial Assembly
Skirmish, Round - Designed for loose formation units in a random pattern with the models on round/oval/pill bases. While there is a 3mm material edge around the model bases, the distance between ALL models can vary from 3 mm to 12 mm. These trays are made with the Regiment Model Width & Depth from the menus above as a guide for creating the trays. For example, the image on this page for the Skirmish Tray, Round, is a 3W x 2D tray.
Keywords: Adhesive, Plates
Skirmish, Square - 1/2 Inch - Designed for units that can move in a spread-out formation (up to a half inch/12.5mm apart). 4mm of material is around the outside edge.
Keywords: Adhesive, Plates, Partial Assembly
Skirmish, Square - 1 Inch - Designed for units that can move in a spread-out formation (up to one inch/25mm apart). 4mm of material is around the outside edge.
Keywords: Adhesive, Plates, Partial Assembly
KEYWORDS EXPLAINED
Lip - I will supply this lip in separate pieces, 4mm deep.
Solid Lip - I will supply this lip as a single solid piece, 4mm deep.
Regiment Width & Depth - These two entries in the relevant option menus must match. For example, to hold 6 cavalry models, enter 3 as the Regiment Model Width and 3 as the Regiment Model Depth. I make the tray in the typical 1, 2, 3 (and so on) formation - i.e., 3 ranks deep and 3 models wide at the rear rank. To hold 10 models, you would enter 4 and 4; 15 models, 5 and 5; etc.
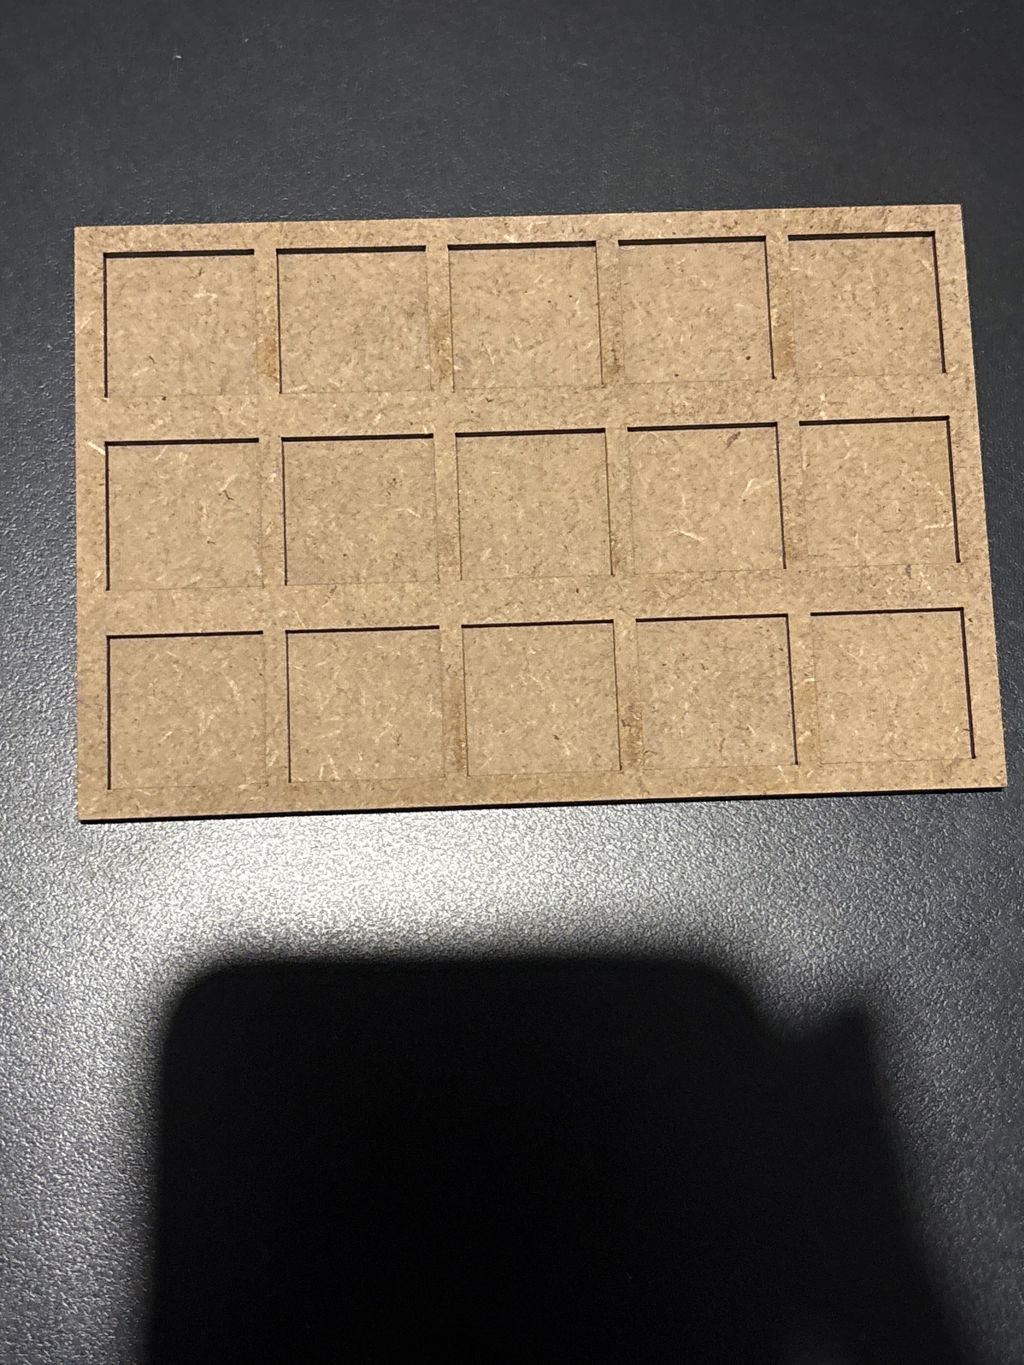
Plates - The tray is made of two (2) plates: a solid bottom plate (base plate) and a top plate (lip), typically cut with holes for your chosen model's base shapes and sizes.
Grid - The tray includes an additional option (yes/no) to engrave a grid on the top side of the top plate. It helps with seeing 'required' base sizes. It is handy when determining AoE (Area of Effect) game mechanics, where you must account for full or partial models.
Adhesive - The tray has a 25-27 ± microns thick pressure-sensitive adhesive layer mounted to the underside of the top plate/lip. This optically clear adhesive works with clear acrylic trays, MDF, and magnetic/magflex options. You must remove the protective sheet from this layer to expose the adhesive. This lip can then be pressed firmly into position. Either directly MDF to MDF, Acrylic to Acrylic or either of these materials to Magnetic or Magflex sheeting (preferably after the sheeting has been stuck down to the base plate).
Partial Assembly - If purchased with either the Magnetic or Magflex option, this tray will come with the rubber sheet already adhered to the base plate, as part of my manufacturing process. The 'lip' will still need to be set in place using the adhesive layer, as described in the keyword above.
Step 3: BASE SHAPE. Choose the appropriate option for the bases that will be on this tray. You could already own these bases or wish to purchase them from us in Step 5.
Step 4: BASE WIDTH & DEPTH (MM). Enter whole numbers only. This is the size of your bases that will be going on this tray. If you choose 'Circle' or 'Square' in Step 3, the width option will be removed.
Step 5: BASES REQUIRED. If you need bases supplied with your tray, please select this add-on. Some shapes and sizes also have slot options. Each tray will be provided with bases made from the same material and thickness as the 'Lip' of the tray. Select 'None' if you don't require this add-on or if it is unavailable.
Step 6: MATERIAL & THICKNESS. You can choose between MDF and Clear Acrylic, giving several thickness options.
Step 7: MAGNETISING OPTIONS. Select 'None' if you don't require this add-on or if no other options are available.
Magflex Sheet & Magnets: In addition to the tray, you'll receive a 0.6mm Flexible Steel insert (non-magnetised) with adhesive backing. No glue is required to fit it onto the tray. Additionally, there are enough 3mm x 2mm Disc rare earth magnets for the appropriate number of figures that fit on your selected size tray (I will swap these out for the same number of 3mm Cubes should you choose to have bases included with your tray, glue these into the holes provided).
Larger bases on the tray will receive more magnets. Based on square millimetre surface area, the rules of thumb are as follows:
- Any base square or round <1600mm² - 1 magnet per base, e.g. 32mm and smaller.
- Any base square or round ≥1600mm² - 4 magnets per base, e.g. 40mm and larger.
- Any base oval, pill or rectangle ≤2100mm² - 2 magnets per base e.g. 35mm x 60mm and smaller
- Any base oval, pill or rectangle >2100mm²) - 4 magnets per base e.g. larger than 35mm x 60mm
Glue your disc magnets to the hollow underside of your plastic base and place them on your tray. Then you'll be ready to move your models around the table without them falling over.
Magnetic Sheet: In addition to the tray, you'll receive a 0.9mm Flexible Magnetic Steel insert with adhesive backing. No glue is required to fit it onto the tray.
AN ADDED NOTE ON THE DIFFERENCES BETWEEN MAGNETIC & MAGFLEX TRAYS
We understand your models may already have a magnetic system installed beneath their bases, whether rare-earth magnets or magnetic base bottoms cut from sheet material. So please note...
For optimal results, we recommend using our movement trays with any of the following basing methods:
Magnetic Trays
- Metal-based models (iron-based)
- Plastic bases with washers (iron-based) glued under them
- Ready-cut Magflex Base Bottoms (NM). Such as ones you already own or those found in our Mag-Maker.
Magflex Trays
- Rare Earth Magnets or Ready cut Magnetic Base Bottoms (M), such as those you already own, those supplied with our Magflex trays, or base bottoms made by our Mag-Maker.
BUILD RELEASE NOTES
03/07/2024 - V2.0 release
03/10/2024 - Added magnetic options to 1.8 MDF and 1.5mm Acrylic base & lip material thickness